


Elsa from Disney icon I've made with this 5-STEP-Required tutorial
First of all, although every in Adobe Photoshop the tools placement are different, but the tools I'm using are common and I hope you already know them. But don't worry, I also include the tools' shortcut. In this article, I'm using Adobe Photoshop CS5.
Let's begin!
STEP 1: Choose a picture you want.
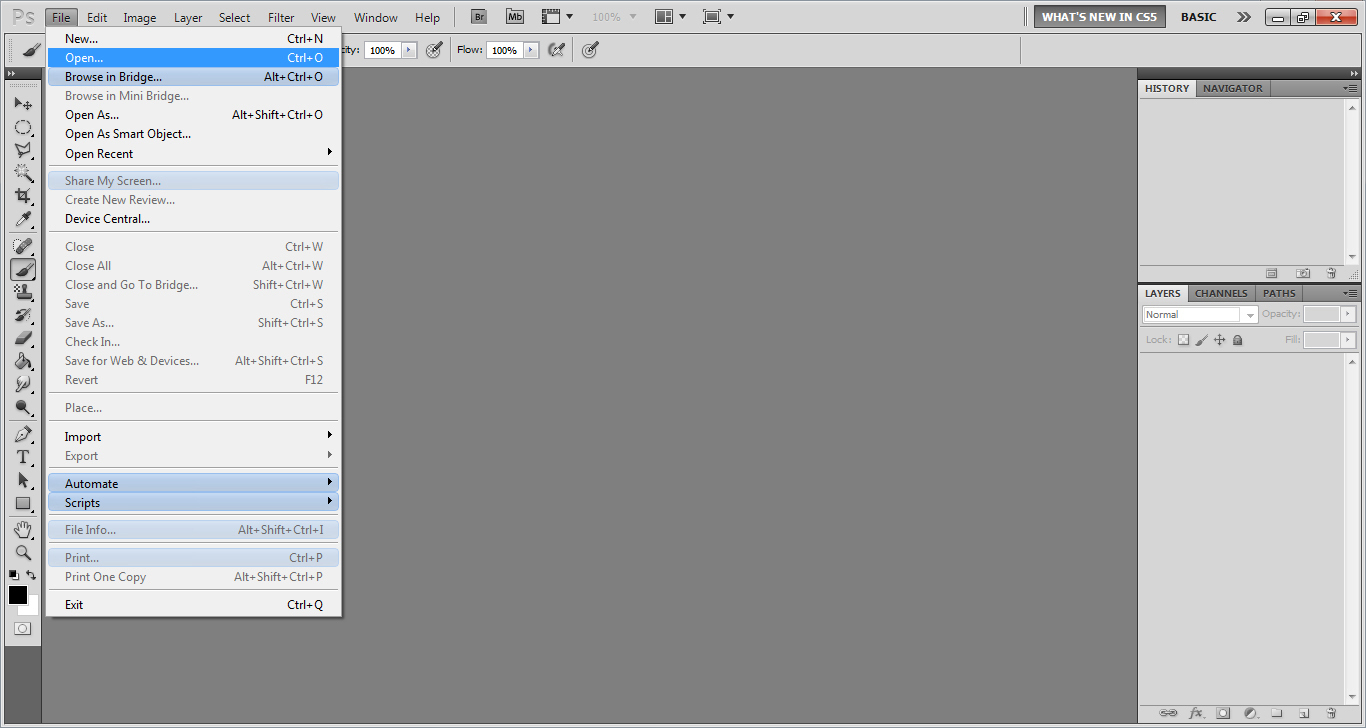
How to open an image: click 'File' and then click 'Open' or a shortcut CTRL+O. You can use any image from your computer.
STEP 2: Adjust the image you use.

In order to make your icon more beautiful, add your image's brightness or contrast by clicking 'Image' then click 'Adjustment' and click 'Brightness/Contrast'. It is up to you whether you want your icon to be light or dark, contrast or less contrast.
Now, the colour of the image. You can adjust it by clicking 'Image' then 'Adjustment' and 'Hue/Saturation (CTRL+U)' or 'Color Balance (CTRL+B)'. You can adjust it into whatever you like.
STEP 3: Crop the image using 'Crop Tool (C)'
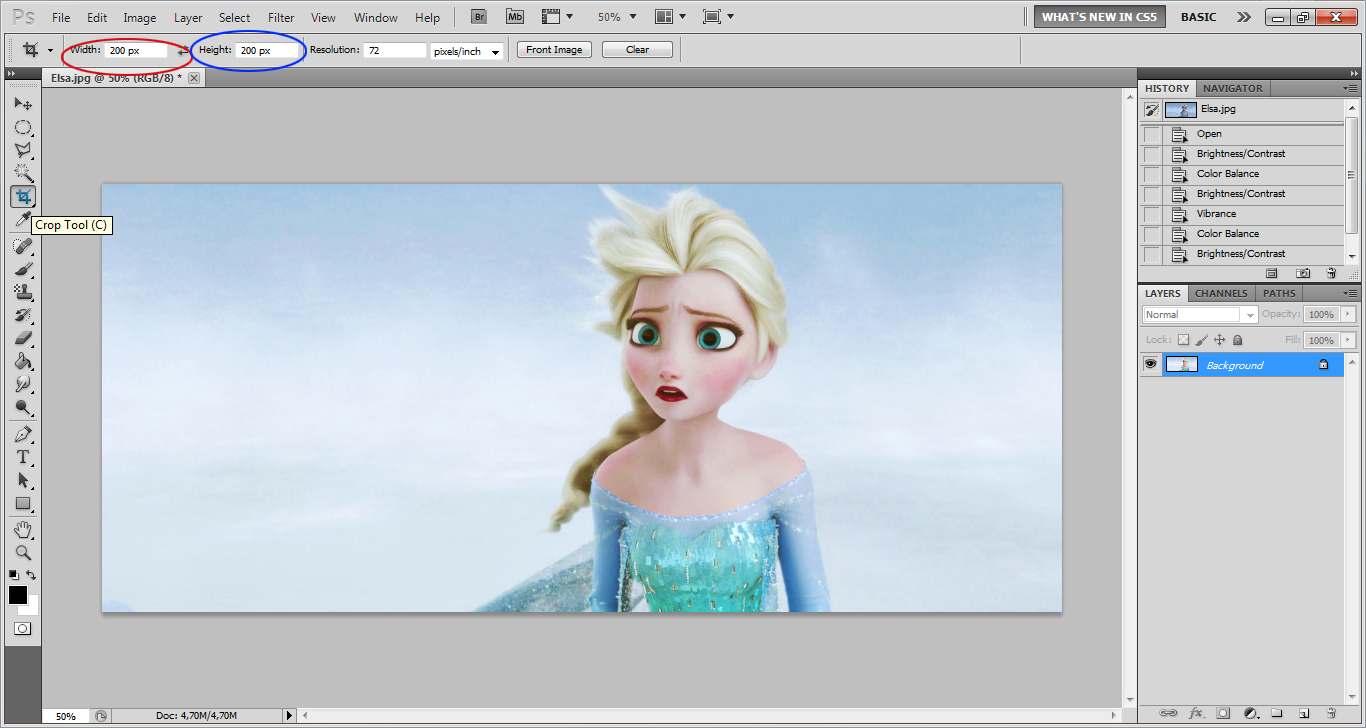
Next, you have adjusted your image, it's time for you to crop it square. Click the box besides 'Width' then write down '200 px'. Do exactly the same thing to the right box besides 'Height'. You can write any size you want actually, but we are making an icon now and I usually create a 200x200 px sized icon.
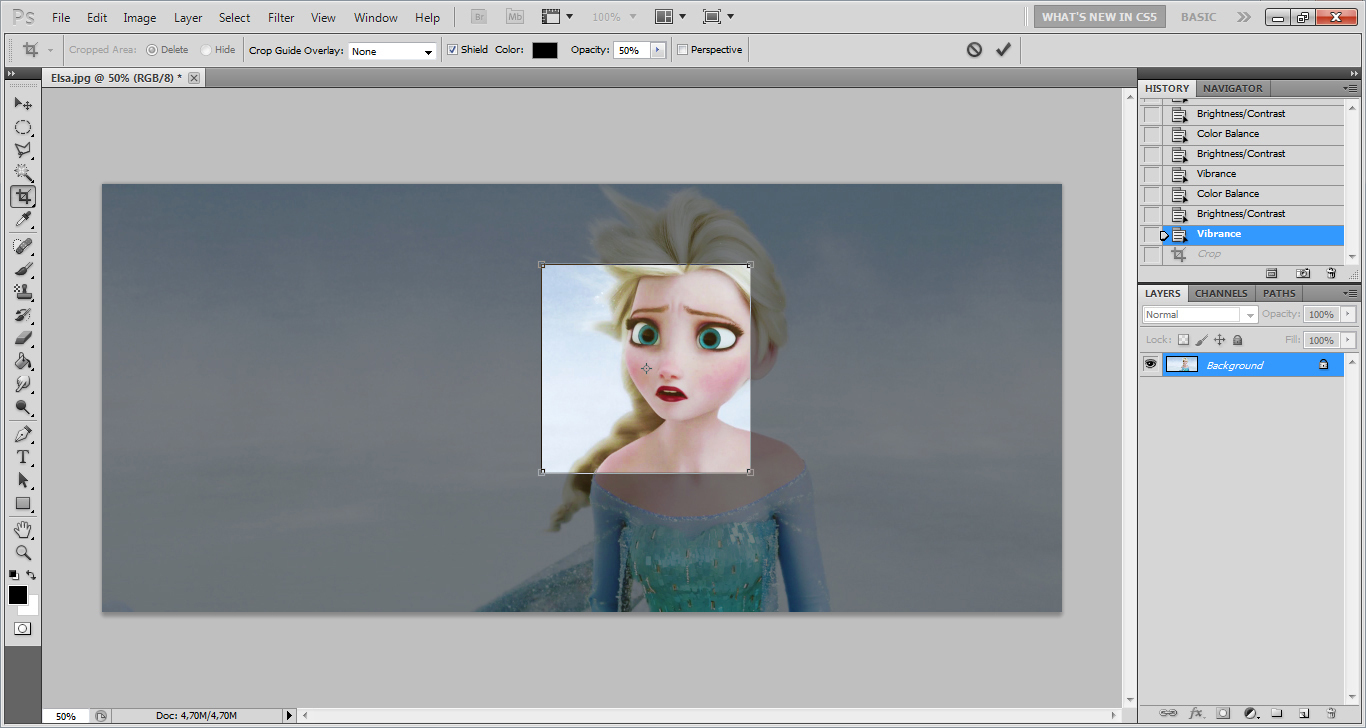
Drag your mouse or mousepad to crop it. You can use the keypad too to move the cropped area.

Cropped
STEP 4: Decorate your icon!
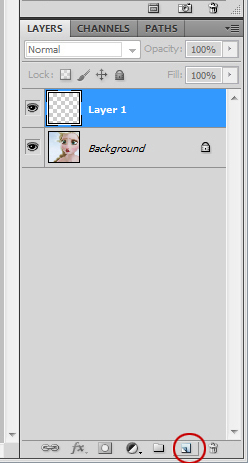
Add a new layer by clicking 'Create a new layer'. Click 'Layer 1'. That means you are going to fill that layer.
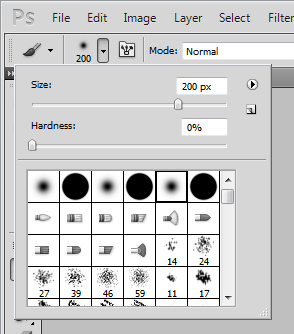
Then click 'Brush Tool (B). You are able to change the brush's size/hardness and even into other shape. You can download new brushes in the internet. Don't get mistaken with 'Eraser Tool (E)'.
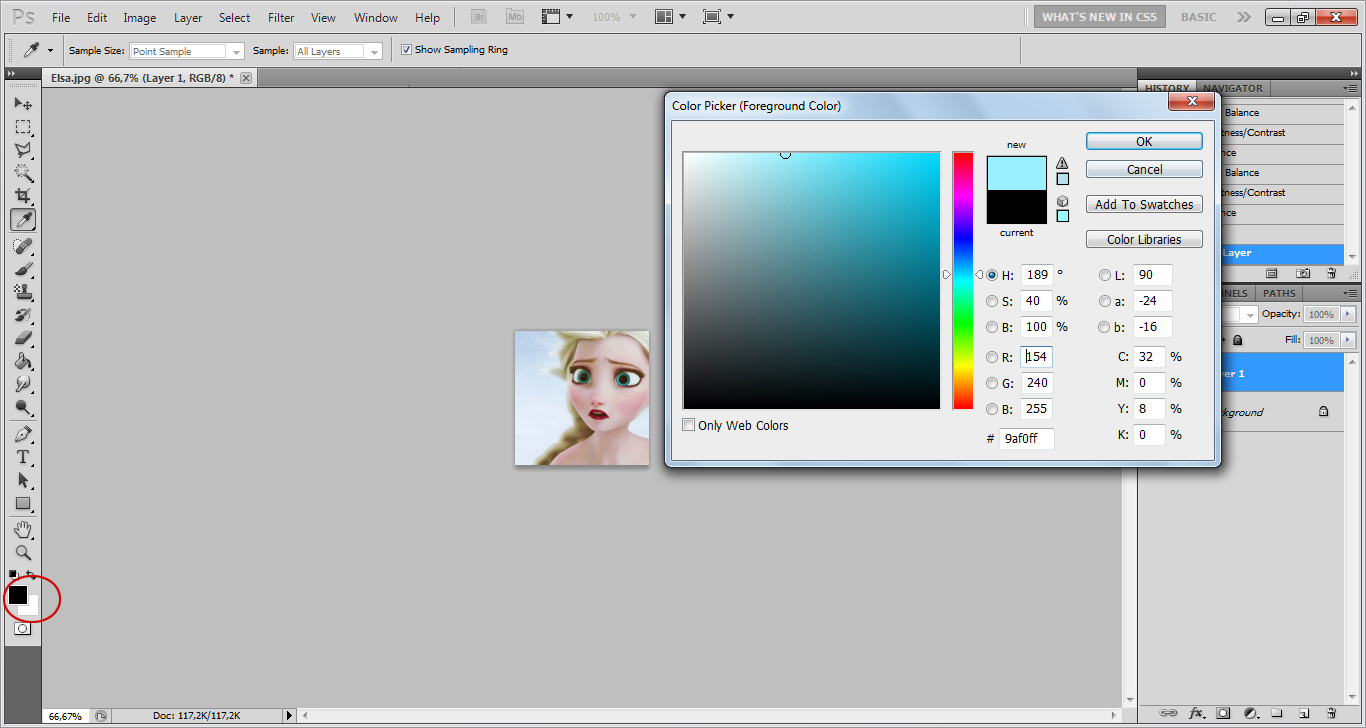
Change the brush colour too into any colour by clicking 'Set foreground color' as you like or even the brush's shape into other form.
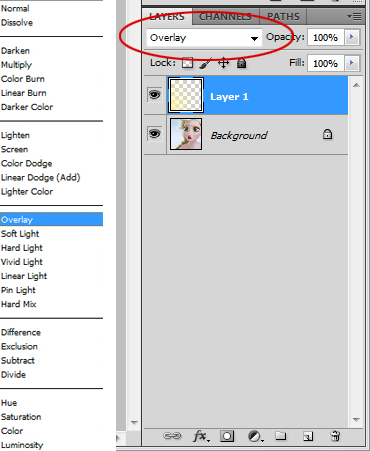
Then click the left button of your mouse or mousepad to add colour on your icon. You can change the mode of the layer into 'Overlay', 'Hard Light', or anything you like.
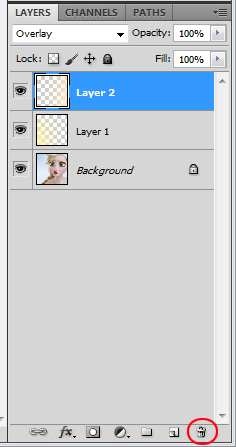
You can add another layer, add brush into your icon, and also change it's mode. If you don't like it, you can delete the layer by clicking the 'dustbin' button besides the 'Create a new layer' button.
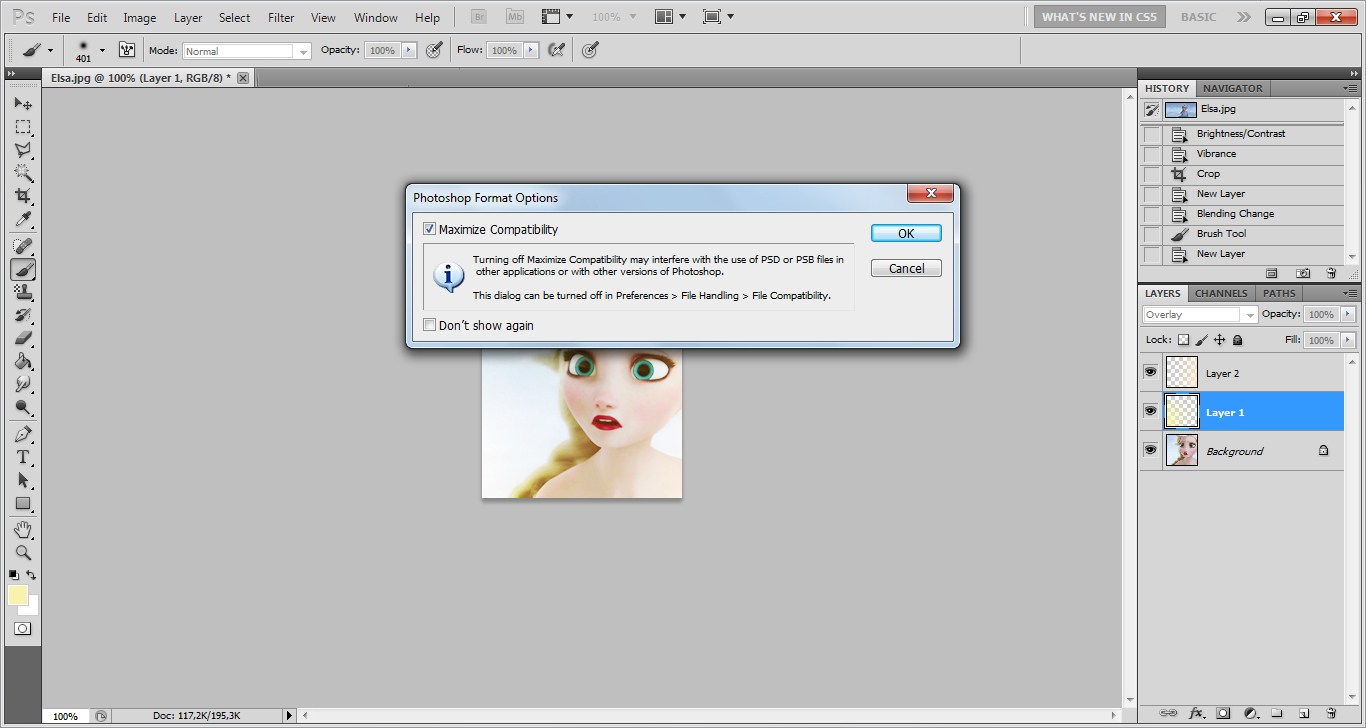
Save your icon. It's format will automatically turn into PSD.
STEP 5: Flatten your icon and change it into JPG or PNG format.
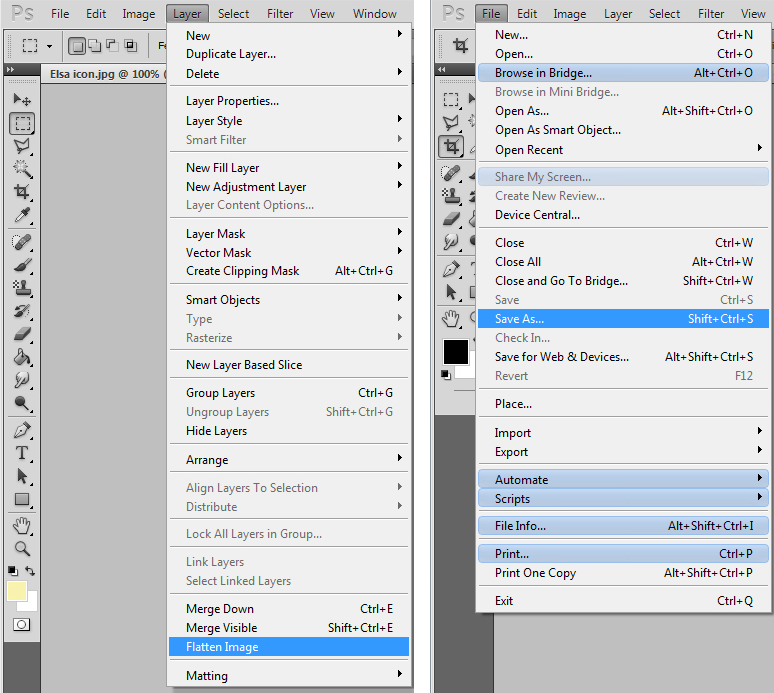
After you have satisfied with your decoration, flatten your icon by clicking 'Layer' then 'Flatten Image. Then click 'File' and then click 'Save as... (SHIFT+CTRL+S)'. Change it's format. You can change it into any format that are available in your Photoshop. Images are usually formatted JPG or PNG.

Do NOT save your icon after you have flattened it. Or else, you will lose your added layers and it will be harder to re-edit in case you want to.
*note: I added 'Vibrance' in my icon. Older versions from Adobe Photoshop CS5 have no 'Vibrance'. But that's no big deal to make your icon lovely.
So, that is my secret on how to make a lovely icon in an easy way! Try it and be as creative as you can!


Awesome
It is 131.5 meters high, 57 meters wide and 60 meters deep. It is located close to Zhangjiajie city in western Hunan Province, China and is part of Wulingyuan Scenic Area - a UNESCO World Heritage Site.
One has to climb 999 steps to reach the top.
The whole area is very scenic and was not easily accessible. However Tianmen Mountain Cableway - reportedly the longest passenger cableway in the World with a length of 7200 meters and a height gap of 1277 meters, now brings thousands of tourists to this natural wonder.

One has to climb 999 steps to reach the top


STUNT BY U.S.S.R JET FIGHTERS
")
Glass path(4,700ft above sea level)

Tianmen Mountain Cableway
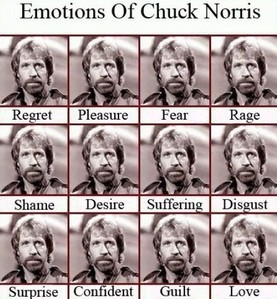
-Some people wear Superman pajamas. Superman wears Chuck Norris pajamas.
-Only Chuck Norris knows the true end of the movie Inception
-When Chuck Norris throws a boomarang it doesn't dare come back
-Do you know how many push ups Chuck Norris has done? All of them
-Neil Armstrong never went to the moon for NASA, he was trying to run away from Chuck Norris
-Chuck Norris knows the letter after Z
-Chuck Norris was the alien who told the Egyptians how to invent the pyramid
-What's Chuck Norris' Favorite Number?....................CHUCK NORRIS
-Superman wears Chuck Norris underpants.
-When Chuck Norris falls out of a boat he dosn't get wet the water gets Chuck Norrised
-Chuck Norris doesn't read books, he just stares them down until he gets the information he wants out of them.
-Chuck Norris has already been to Mars; that's why there are no signs of life.
-Chuck Norris can sneeze with his eyes open.